Howdy everyone, as the title says, in this article I will show you how to publish Copilot studio Agents to your Power Pages page. Keep in mind that some licenses will be required for this, so make sure to double-check the prerequesits part of the article before starting.
Why Integrate Copilot Studio with Power Pages?
I thought I would add this section with 3 examples for those who dont know the benifits of using Agents with Power Pages:
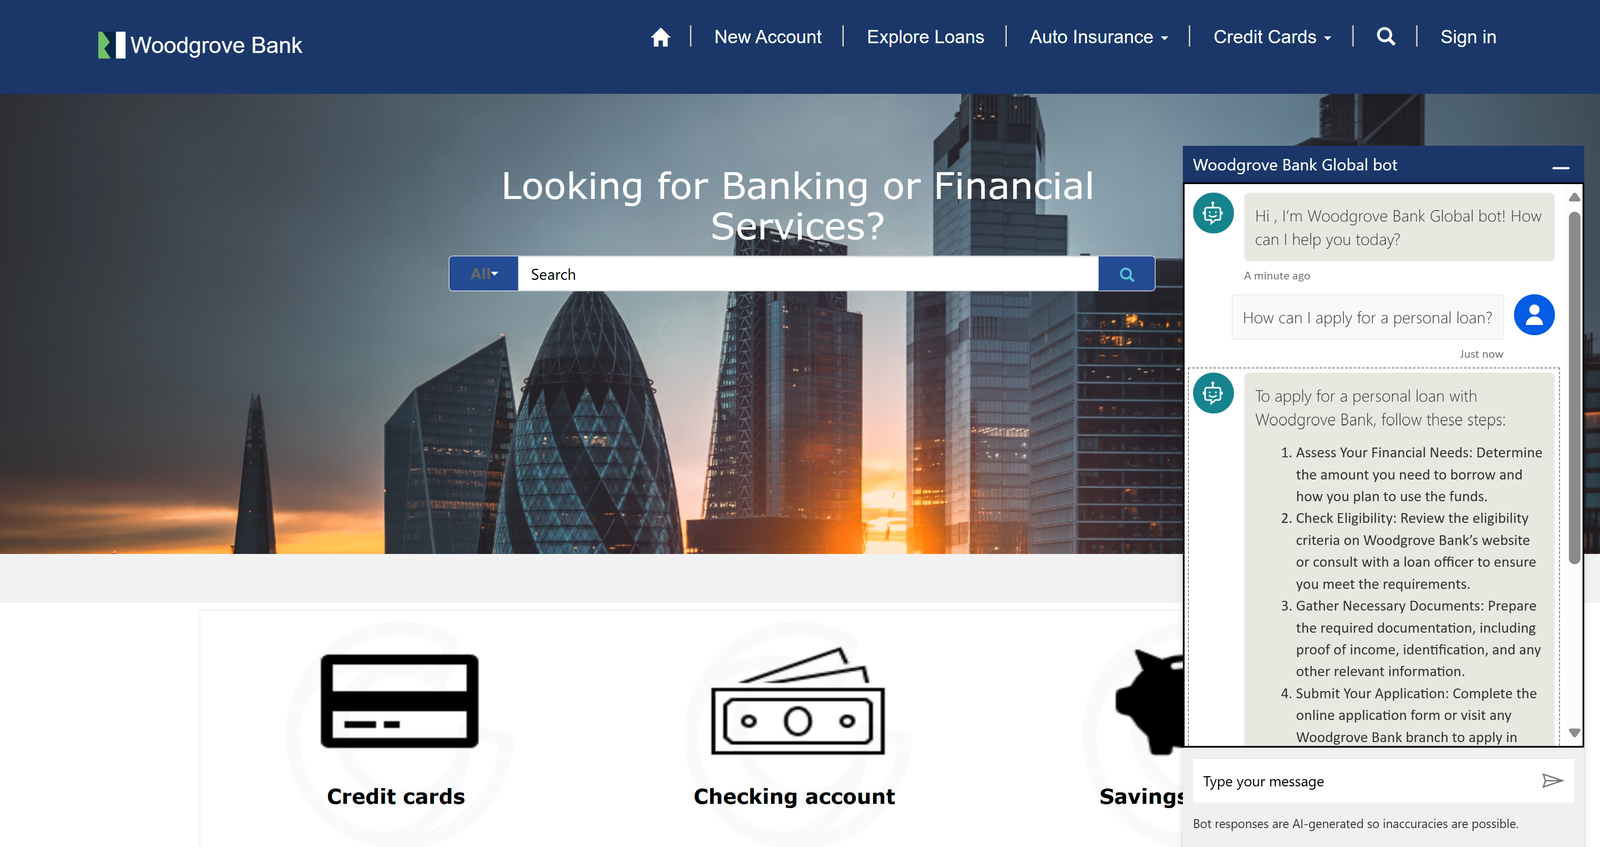
Better customer experience: kind of the same with all other chatbot experiences, if you have a self-service agent on the site, people can get help even if they don’t find the info they are looking for in your post.
24/7availability: Your Copilot agent works around the clock, handling inquiries even outside business hours.
Consistent information: Ensure users receive standardized, accurate information approved by your organization.
Prerequisites
Before you begin, ensure you have the following:
Licenses: Mostlikely will need to setup a Pay as you go model for the copilot studio licensing, unless you know for sure it will only be used by people with M365 Copilot license. Also Power Pages licensing of course.
Copilot Studio Agent: A functional Copilot Studio agent that you have built, tested, and is ready to be published.
Power Pages Site: An existing Power Pages website where you will add the agent.
Permissions: Administrative permissions in both Copilot Studio and the Power Platform environment hosting your Power Pages site. You’ll typically need roles like System Administrator, System Customizer, or specific Power Pages/Copilot Studio roles.
Step-by-Step Guide: Publishing Your Copilot Agent to Power Pages
Follow these steps to integrate your chatbot:
Step 1: Publish Your Copilot Studio Agent
First, ensure your Copilot agent itself is published within the Copilot Studio environment.
- Open the Copilot Studio authoring canvas.
- Select your desired Copilot agent.
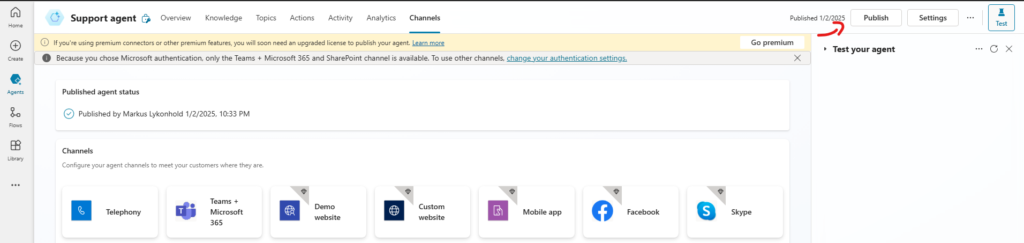
- Navigate to the Publish section in the left-hand navigation pane.
- Click the Publish button. This makes the latest version of your agent live and ready for integration. Wait for the confirmation message.
Step 2: Get Your Copilot Agents info
You need specific identifiers to link your agent to Power Pages.
- In Copilot Studio, go to Settings -> Channels.
- Under ‘More channels’, select Custom website.
- Click Add.
- Copy the Bot ID and the Tenant ID and save them somewhere (you will need them in Power Pages)
Step 3: Add the Chatbot Component in Power Pages
Now, switch over to your Power Pages design environment.
- Go to the Power Platform Maker Portal (make.powerpages.microsoft.com) or navigate via make.powerapps.com.
- Select the Environment containing your Power Pages site.
- Find your site and click Edit to open the Power Pages Design Studio.
- Navigate to the Page (or Web Template if editing templates directly) where you want the chatbot to appear. Common locations include all pages (via header/footer template) or specific support/contact pages.
- In the Design Studio canvas, click the + Add button or select a section where you want to place the component.
- In the component library that appears, search for or locate the Chatbot component (it’s usually under ‘Microsoft Copilot Studio’).
- Click to add the component to your selected section on the page.
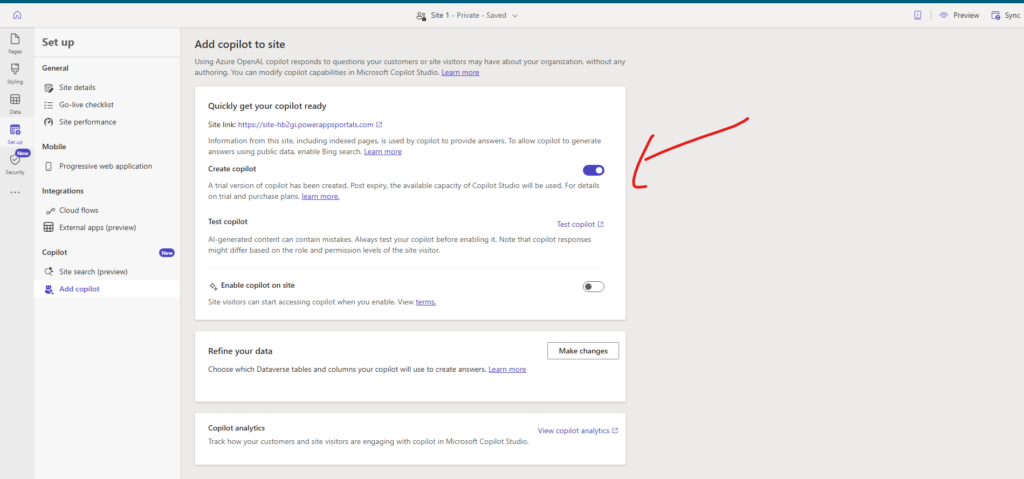
Step 4: Configure the Chatbot Component
Once the component is added, you need to configure it to point to your specific Copilot agent.
- Select the newly added Chatbot component on the canvas.
- The component’s properties pane will open (usually on the right side).
- Paste the Bot ID you copied from Copilot Studio into the Bot ID field.
- Paste the Tenant ID you copied from Copilot Studio into the Tenant ID field.
- Review other available settings in the properties pane. These might include basic appearance or visibility settings, although deep customization often happens within Copilot Studio itself or via custom code.
Step 5: Test and Preview
Before making the changes live to all users, test the integration.
- In the Power Pages Design Studio, click the Preview button (usually top right).
- Choose Desktop (or mobile, depending on your testing needs).
- A preview of your page will open in a new tab. Look for the chatbot icon (usually in the bottom right corner).
- Click the icon and interact with your Copilot agent. Test key conversation flows, trigger phrases, and ensure it behaves as expected within the website context.
Step 6: Sync Configuration and Go Live
If the preview looks good and the bot functions correctly, you need to make the changes live on your Power Pages site.
- Return to the Power Pages Design Studio.
- Click the Sync button (usually top right) to save your configuration changes to the underlying Dataverse tables used by Power Pages.
- Once synced, you might need to clear the server-side cache for the changes to fully reflect on the live site. Navigate to
<YourPortalURL>/_services/aboutin your browser and click Clear cache (you’ll need appropriate permissions). Alternatively, configuration changes often trigger automatic cache invalidation, but manual clearing ensures immediacy. - Visit your live Power Pages site address and test the chatbot integration again.
Common Issues
If your agent is invisible or not working:
Double-check the Bot ID and Tenant ID are correctly pasted. Ensure the Copilot agent is Published in Copilot Studio. Verify the Power Pages changes were Synced and the cache cleared.
Check permissions: Ensure the service principal or application user associated with Power Pages has permissions to interact with the Copilot agent if specific security restrictions are in place.
Good luck, write a comment if you need help!